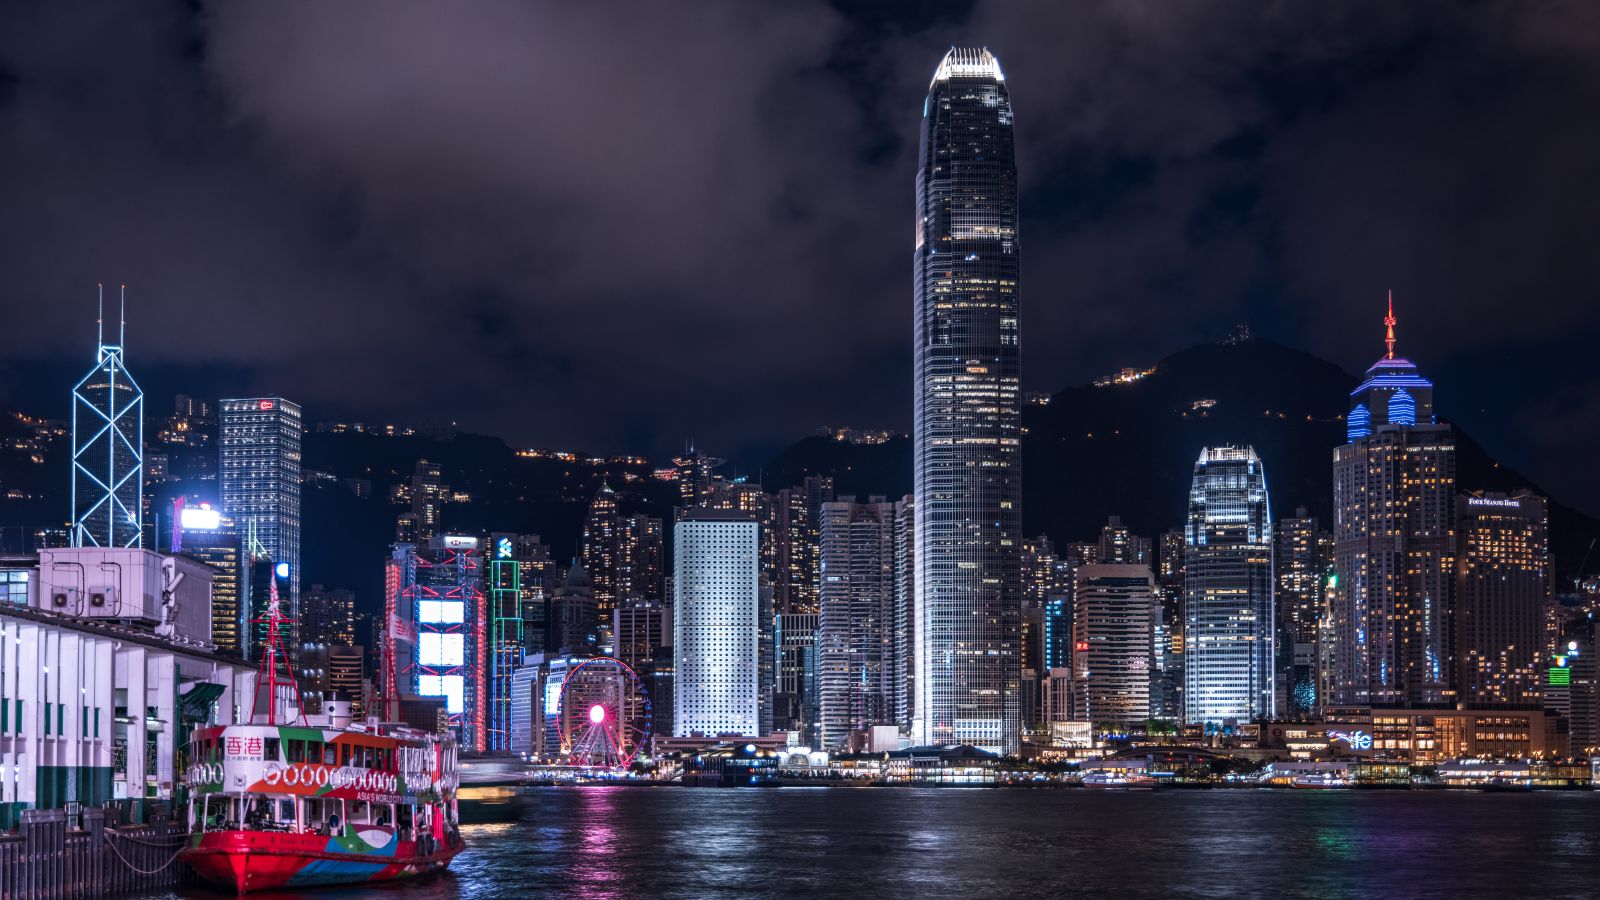
Tsim Sha Tsui Promenade
The Tsim Sha Tsui Promenade is one of the most popular photography locations in Hong Kong. It offers stunning views of the Hong Kong skyline and is a great place to take photos during both the day and night. In this guide, we will give you tips on how to capture breathtaking photos of the Hong Kong skyline from the Tsim Sha Tsui Promenade.
Photography Guide
Direction
Tsim Sha Tsui East MTR Station, Exit P1, along the Avenue of Stars towards the pier
Suggested Time
close to dusk in the afternoon, and wait until night
Equipment
Standard focal lengths are enough, no need for ultra-wide-angle, if you have a telephoto, you can also bring it with you.
Settings
Basically, the aperture priority (Av) is used throughout the entire process, just control the aperture around F8-F13, ISO depression to maintain image quality, and the shutter speed can be calculated by the camera.
Only night scenes around sunset are considered to use Manual (M) to control various parameters.
Shooting References
Body
Canon EOS R5 / Canon EOS RP
Lens
RF 24-105 F4 L + RF 70-200 F4 L
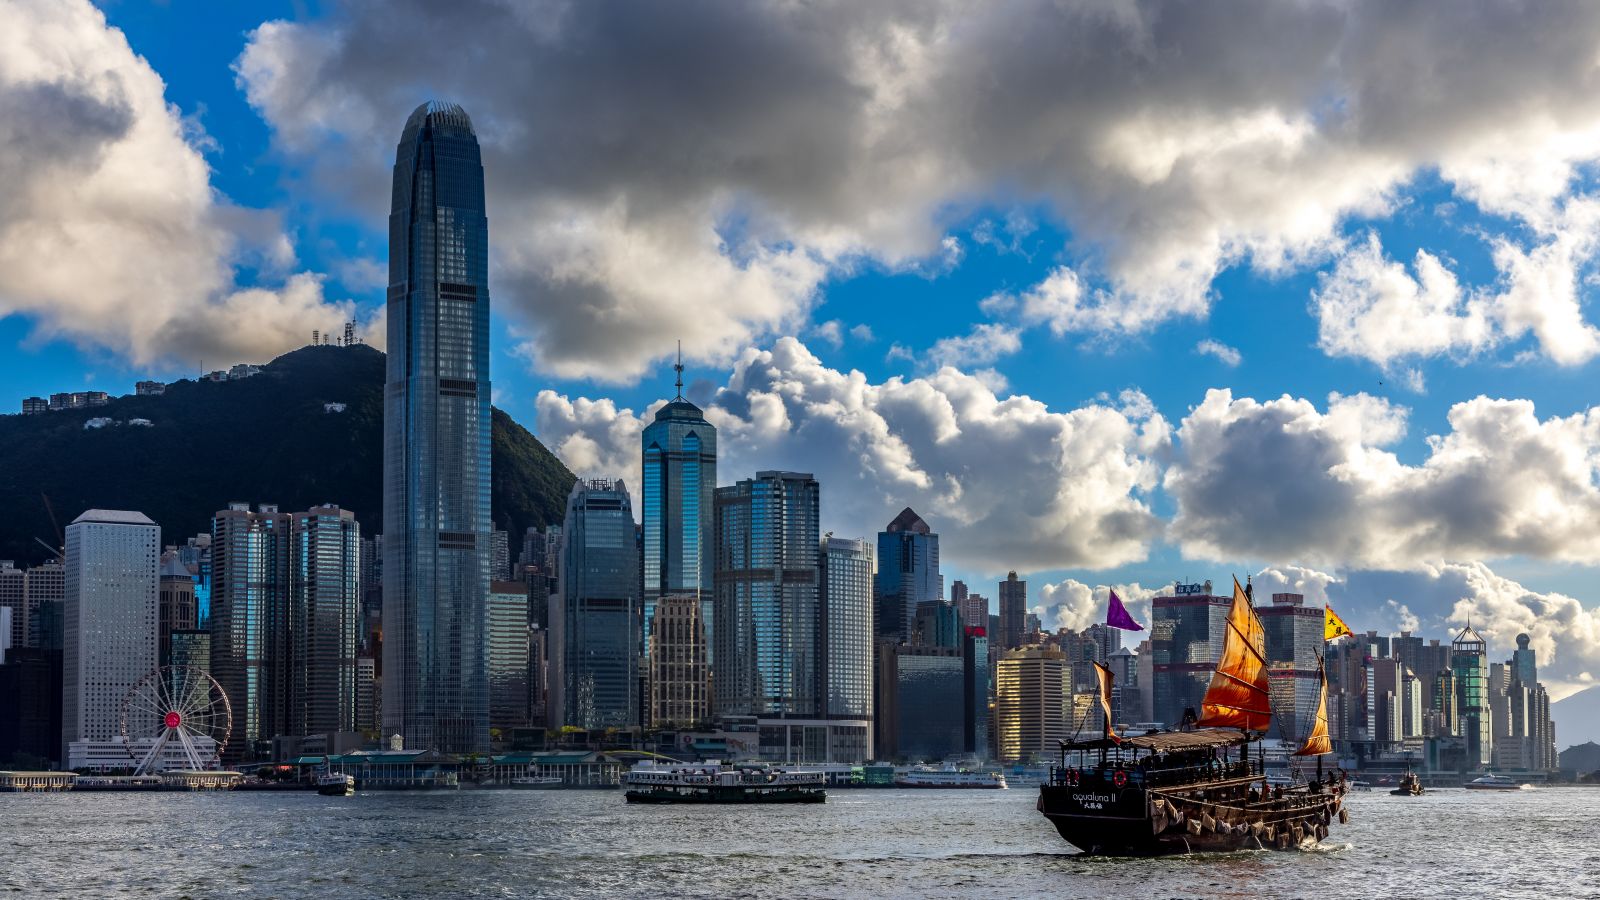
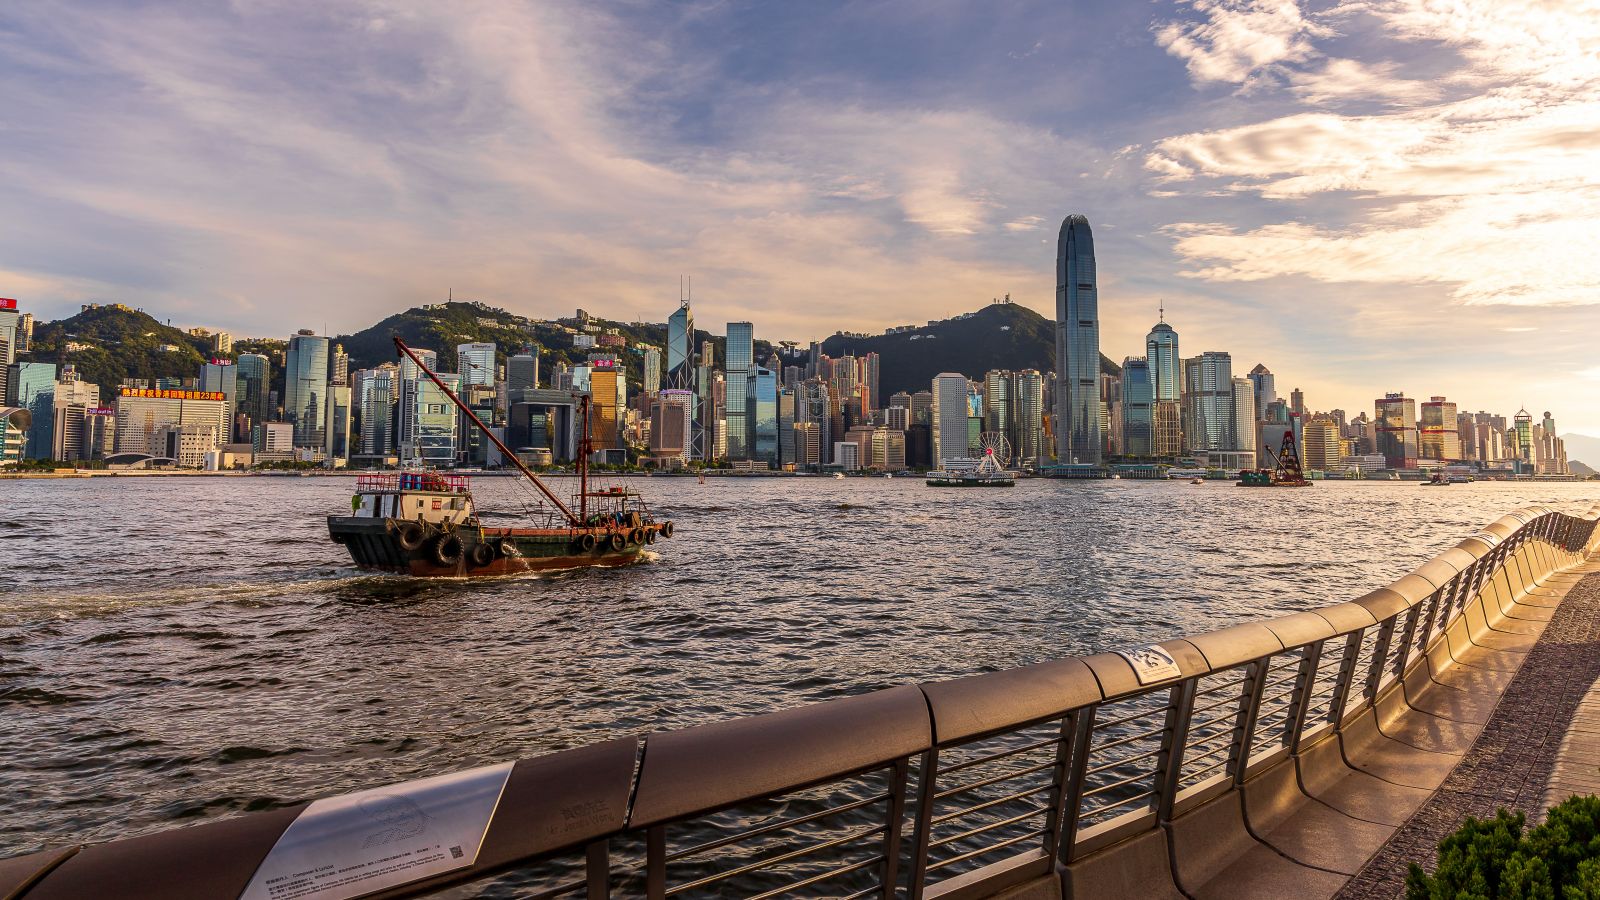
Change the white balance and wait for the sunset to create the Golden Hours effect
The bell tower is also one of the highlights.
(1).jpg)
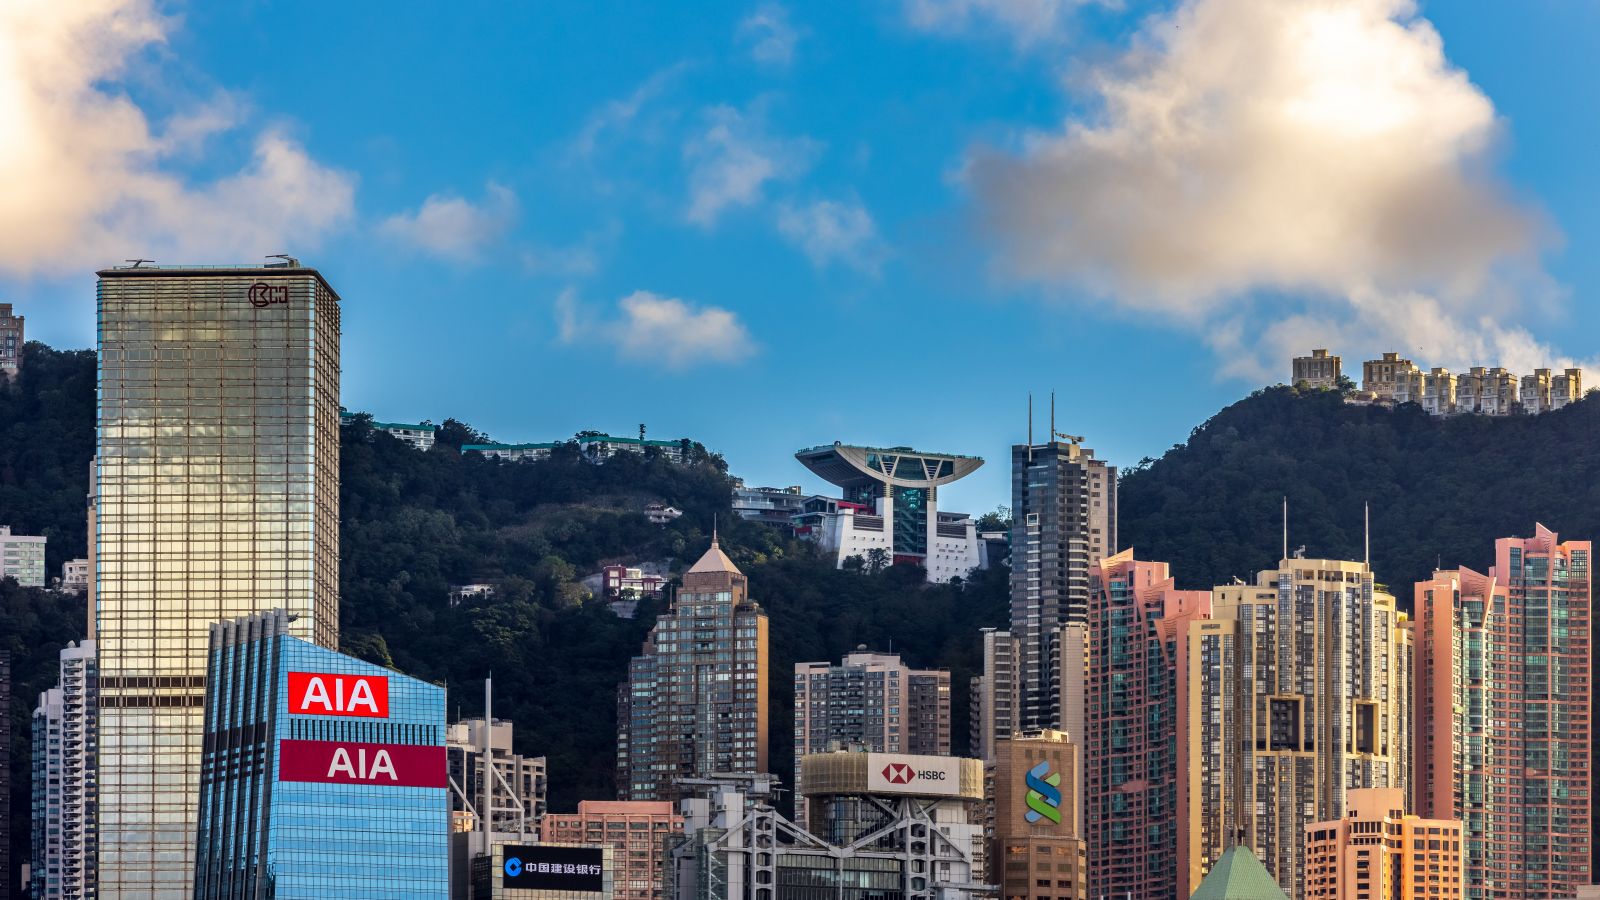
If you do not want all photos to be the same, you can use telephoto instead to highlight the key points:
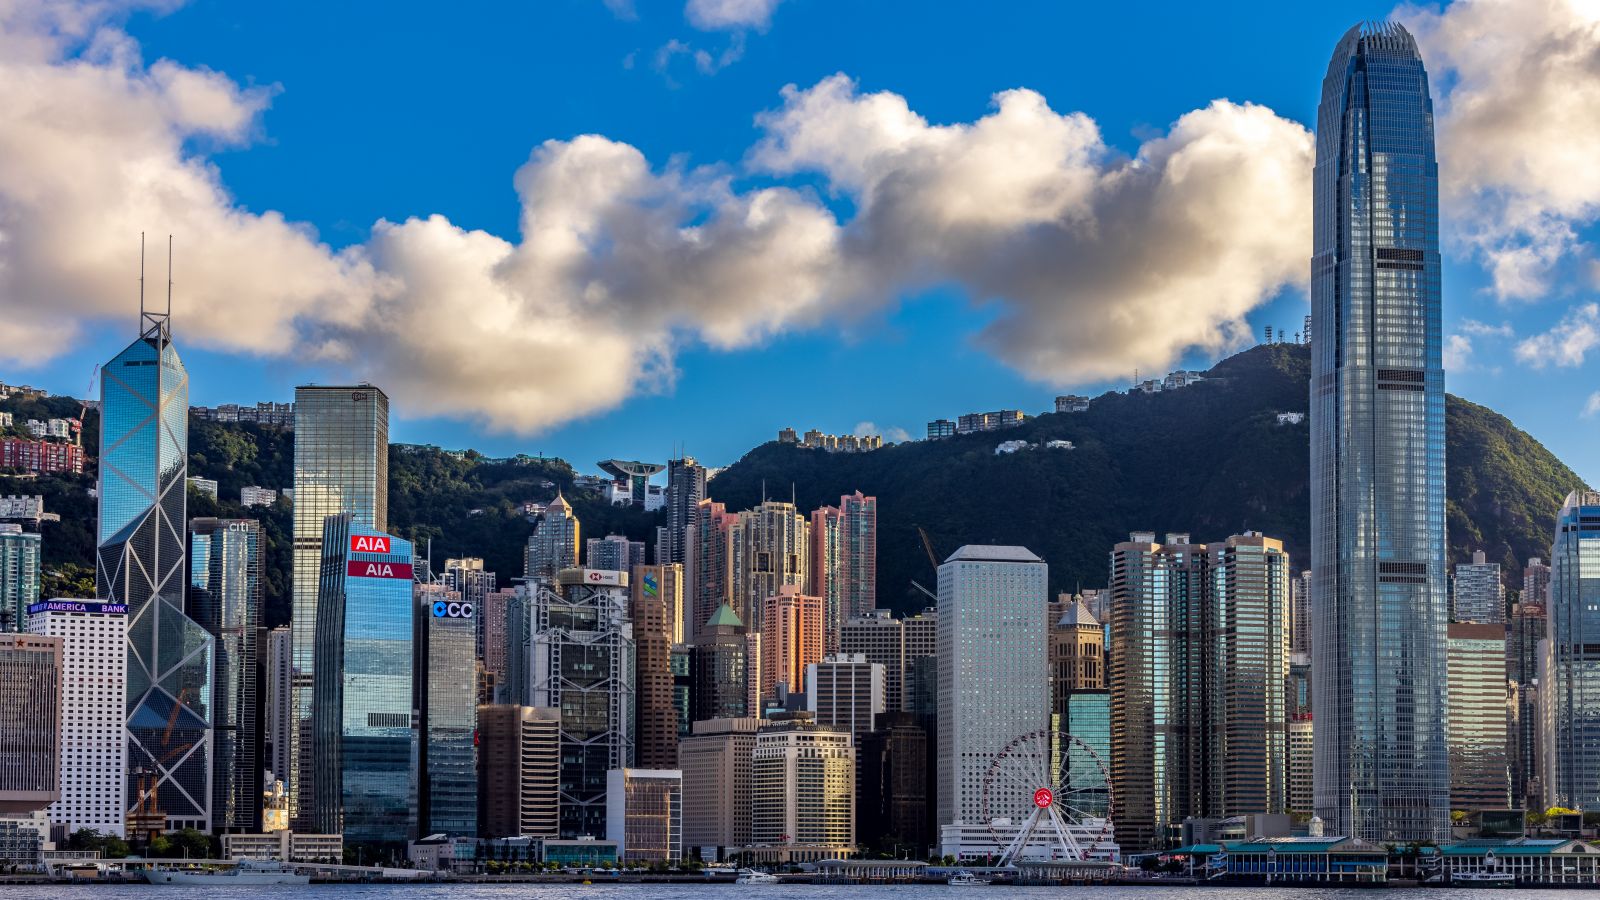
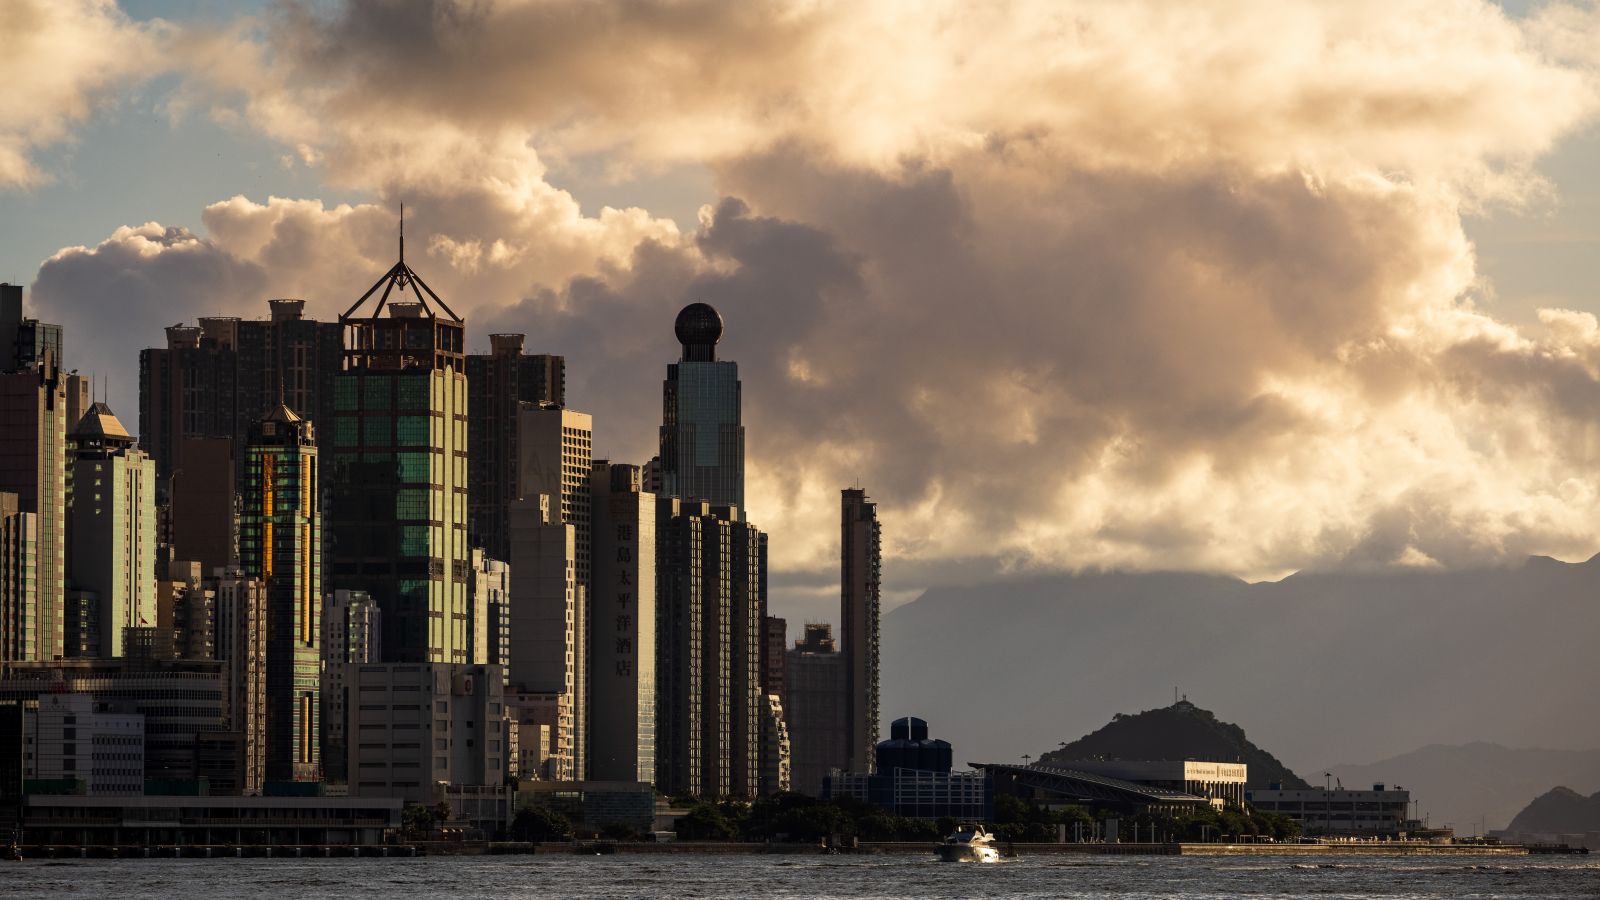
The closer you get to the sunset, the richer the color changes:
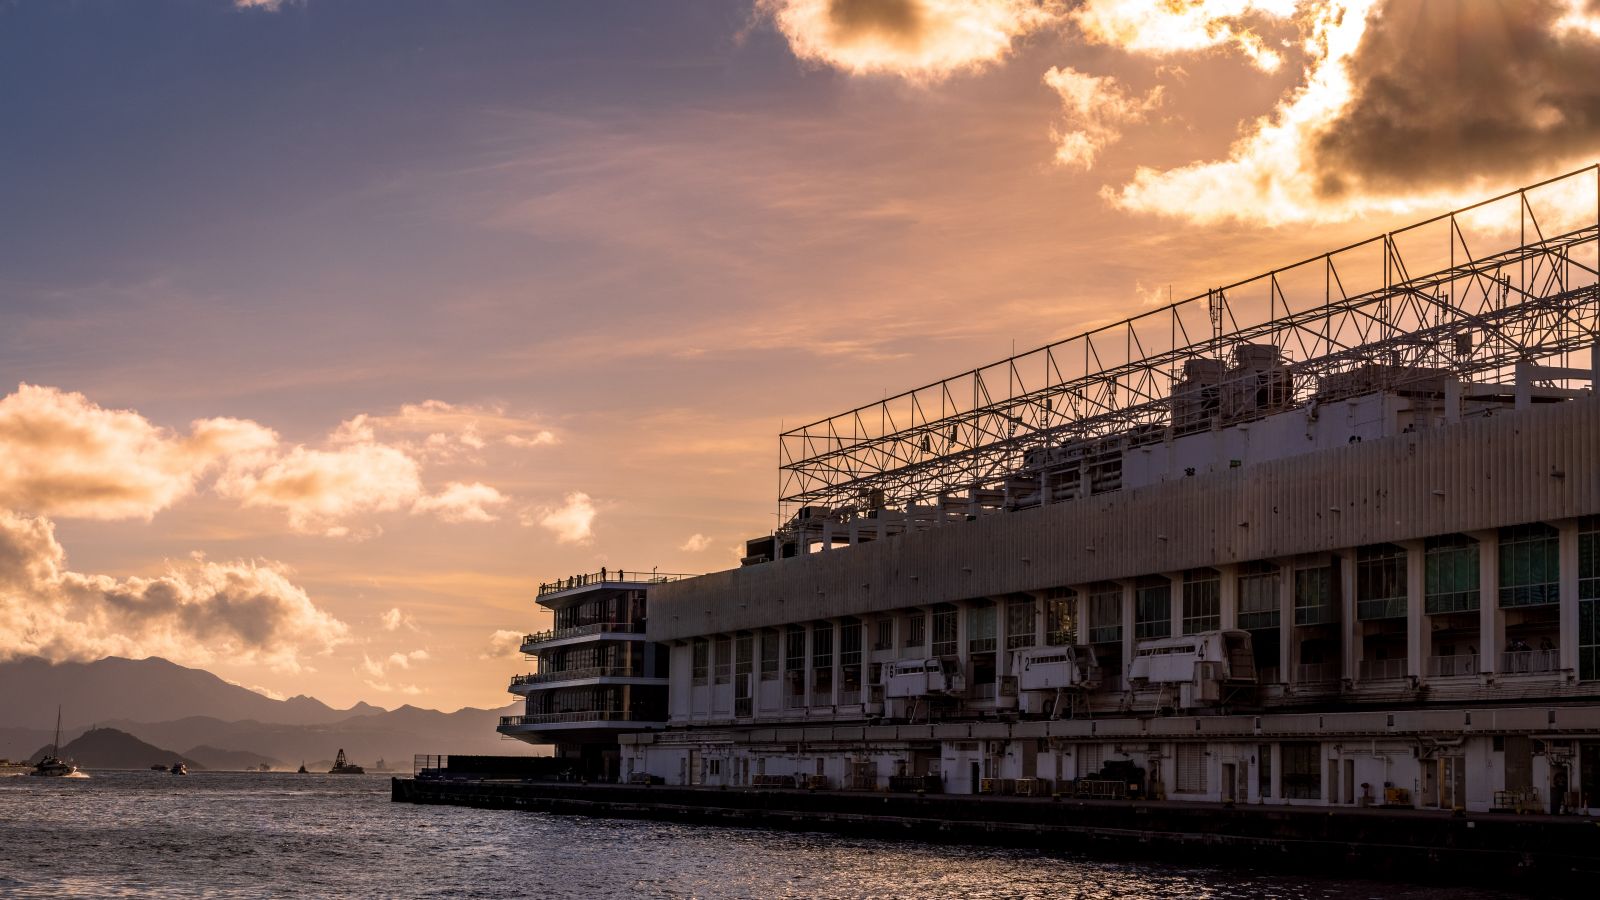
Consider heading to the observation deck on the top floor of Harbour City to capture the spectacular sunset.
The transformation of the sky during sunset happens swiftly, right from when the sun graces the horizon to the moment it fully sets. Therefore, be ready to arrive around 45 minutes before sunset to make the most of this magical hour.
To encapsulate the dramatic sky in all its breadth, switch to wide-angle zoom lenses for a broader capture of the evolving sky dynamics.
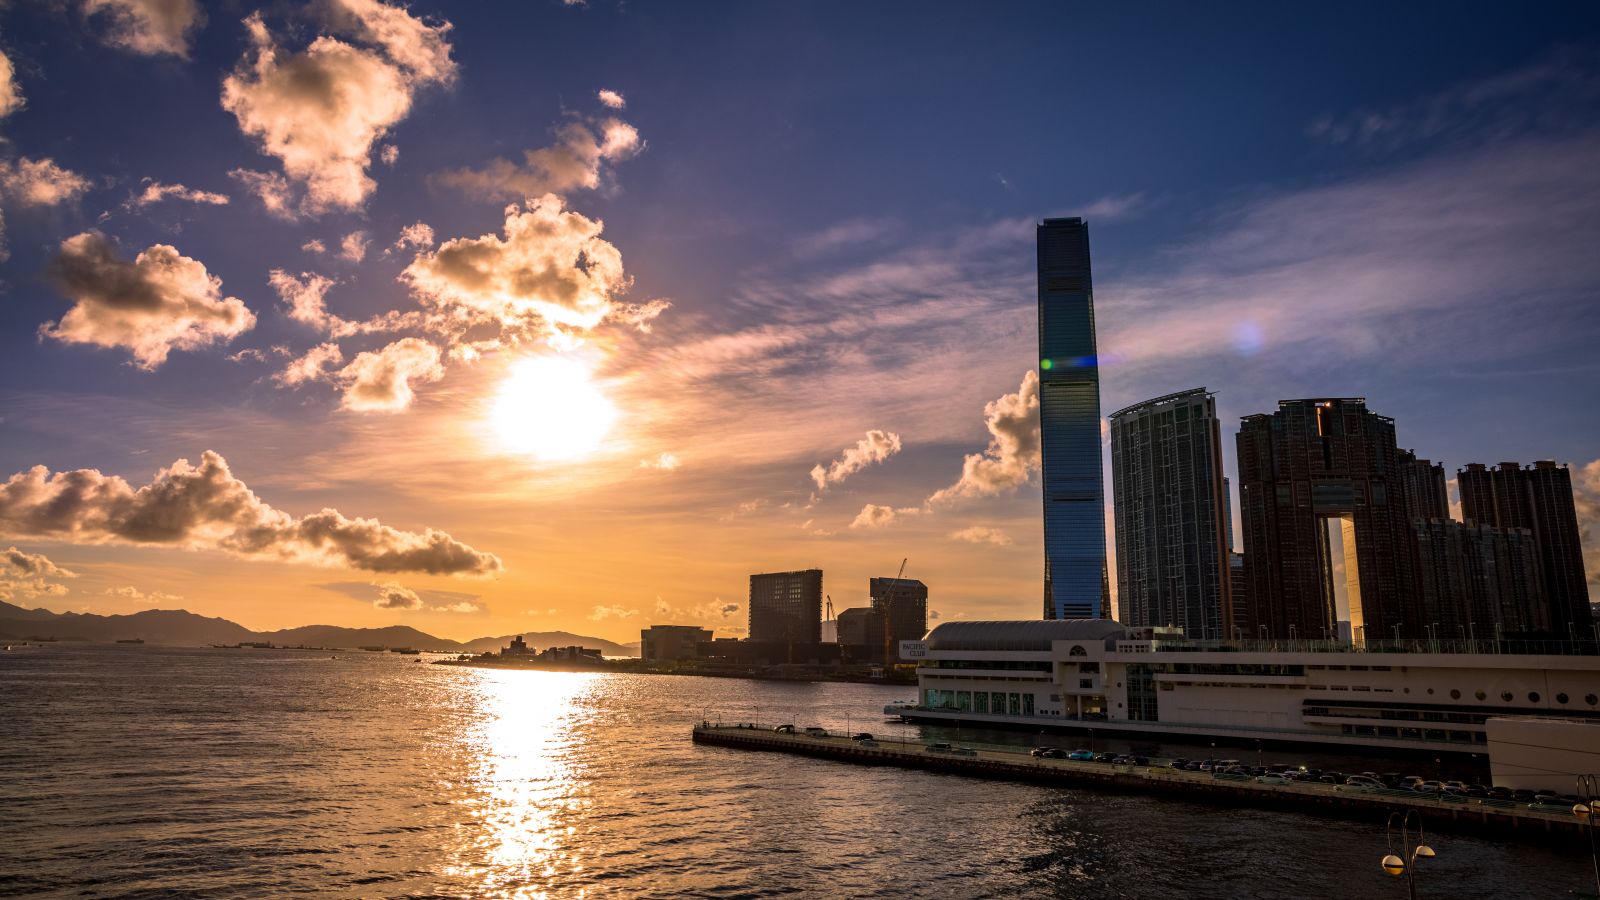
Don't be in a hurry to pack up and leave right after the sun has set; the best scenes often unfold behind the curtain, especially during the 'Magic Hours,' which occur 30 minutes post-sunset.
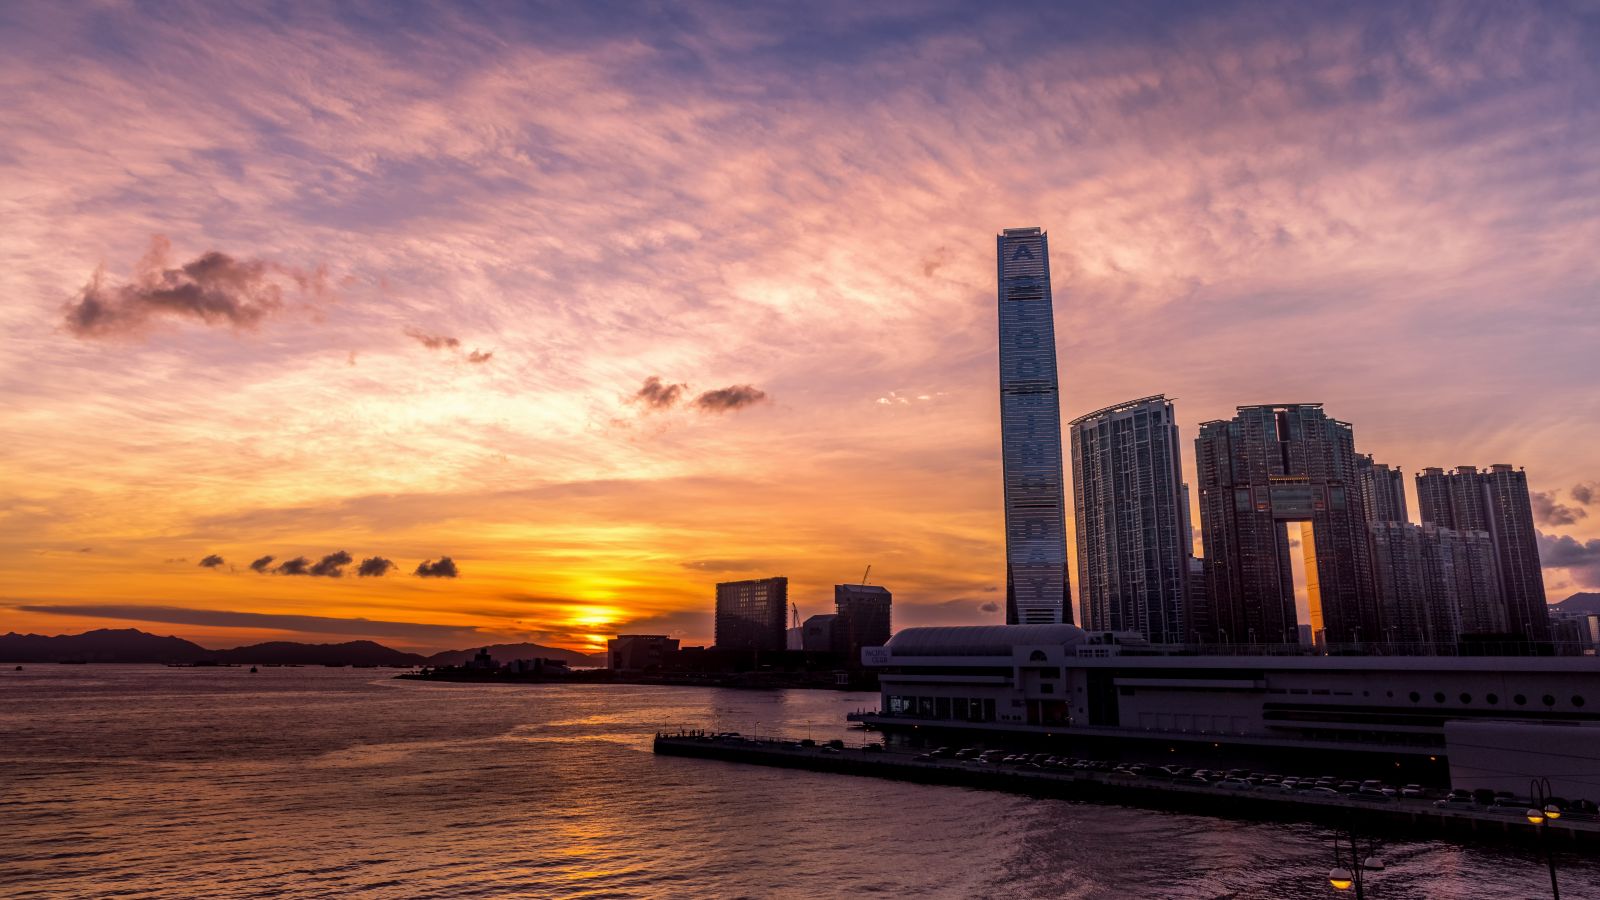
For this photograph, I wanted to create a misty effect on the sea surface, which required a long exposure time. I set up my tripod and adjusted the shutter speed to 30 seconds. However, this increased the amount of light entering the lens, prompting me to narrow down the aperture to F18. Any further reduction could lead to diffraction and a drop in image quality. Despite these adjustments, the shot was still too bright, leading me to lower the ISO further to ISO50.
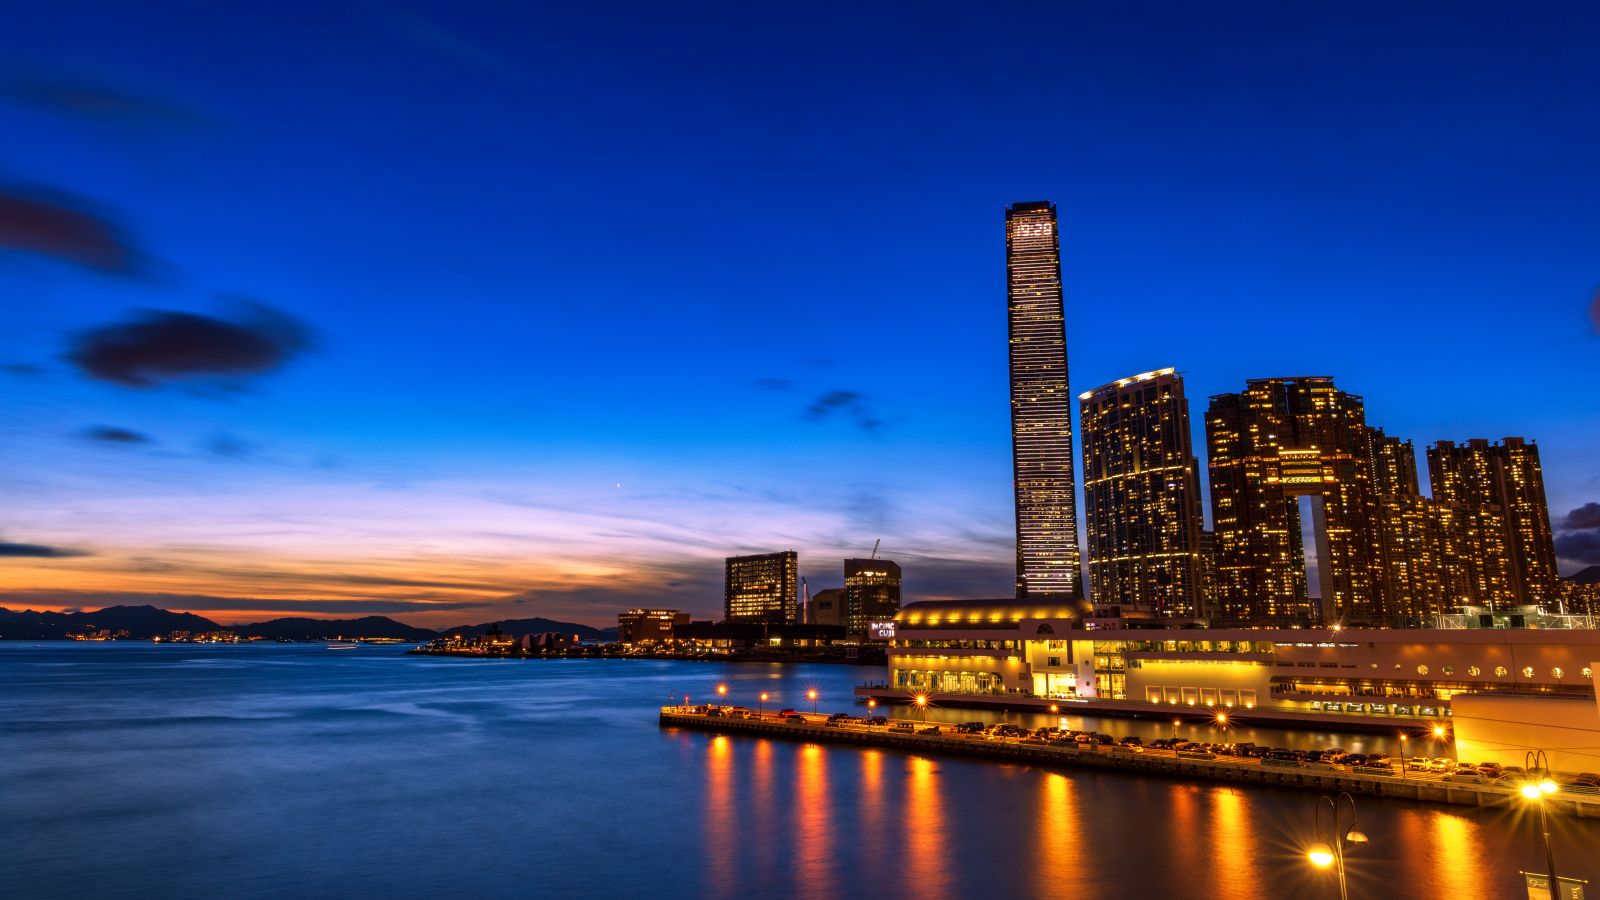
Before leaving, make sure to capture the night view as you pass by the pier. A high-definition night shot typically requires a longer exposure time and a tripod for stability. However, thanks to my camera's excellent image stabilization feature, I can confidently hold it steady for 1.3 seconds without a hitch. This isn't a feat everyone can achieve, so it's always wise to use a tripod when shooting long-exposure night scenes.
